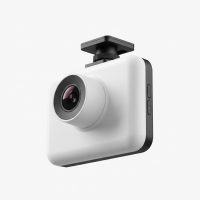
In over fifteen years of working with vehicle electronics, I’ve seen technology evolve at an incredible pace. But few devices have become as essential as a good front and back dash cam. It’s no longer just a gadget for tech enthusiasts; it’s a crucial tool for everyday driver safety, providing a complete, 360-degree digital witness for everything that happens on the road. If you’re considering this upgrade, you’re making a smart choice. This guide will walk you through everything you need to know, from selection to installation.
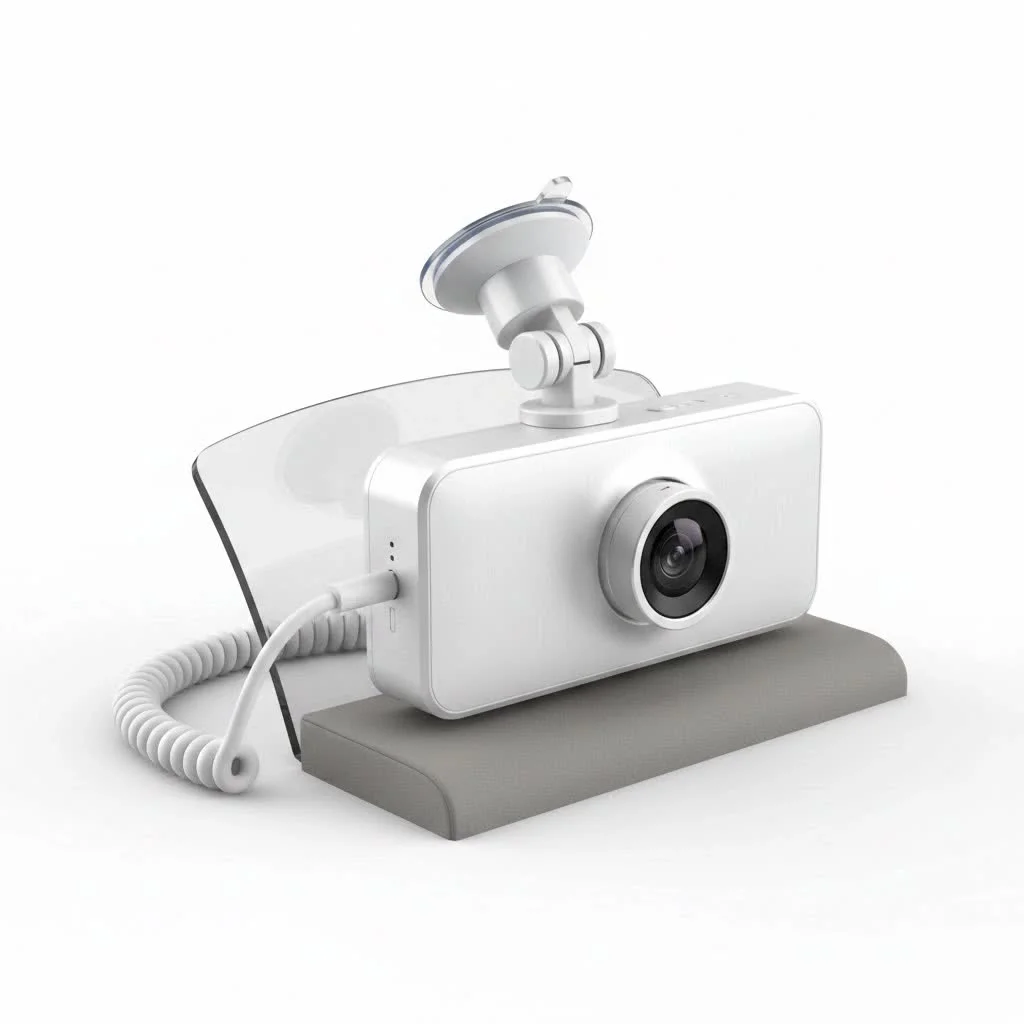
A front and back dash cam, often called a dual-channel or dual-lens system, is an onboard camera setup that simultaneously records video from both the front and rear of your vehicle. Unlike a standard, forward-facing camera, this system offers comprehensive coverage, capturing tailgaters, rear-end collisions, and parking incidents that a single lens would miss. For browse all automotive dash articles on this site.
Why Every Driver Should Consider a Dual-Channel Dash Cam
The primary reason for installing any dash cam is for evidence in the event of an accident. A front-only camera tells half the story, but a front and back dash cam provides the complete narrative. This can be invaluable for insurance claims and legal disputes, helping to prove you were not at fault.
Beyond accident documentation, these systems offer other significant benefits:
- Parking Protection: Many models come with a “parking mode” that starts recording if it detects an impact while your car is parked. This can help you identify who hit your car in a parking lot and fled the scene.
- Deterring Fraud: Staged “crash-for-cash” scams often involve a vehicle behind you braking suddenly or intentionally causing a rear-end collision. Rear-facing footage is your best defense against this type of fraud.
- Monitoring and Peace of Mind: For parents of teen drivers or owners of fleet vehicles, a dual-channel system provides a way to review driving habits and ensure vehicle safety.
- Capturing the Unexpected: From beautiful scenery on a road trip to unexpected events on the road, a dash cam is always recording.
“I’ve handled countless insurance claims where the rear footage from a dual-channel dash cam was the single piece of evidence that saved the driver from a costly, months-long dispute. It turns a ‘he-said, she-said’ situation into a closed case.” – David Chen, Lead Installation Technician, Welmb.com
Choosing Your Ideal Front and Back Dash Cam
With hundreds of models on the market, selecting the right one can feel overwhelming. Let’s break down the most important features to focus on.
Core Features You Can’t Ignore
|
Our Picks for the Best Dash Cam in 2026
As an Amazon Associate I earn from qualifying purchases.
|
||
| Num | Product | Action |
|---|---|---|
| 1 | Dash Cam Front and Rear, 1080P Dash Camera for Cars, 3 Channel Car Camera Front Rear and Inside with 32GB Card, Loop Recording, Night Vision, HDR, 24Hr Parking, G-Sensor |

|
| 2 | Dash Cam Front and Rear, 2.5K+1080P Dual Dash Camera for Cars, 2’’ Display Mini Car Camera, G-Sensor Dashcam, Night Vision, 24H Parking Mode, Loop Recording, 170°Wide Angle, 32GB Card Included |
|
| 3 | IIWEY N5 4 Channel Dash Cam 360° View, 1080P Front and Rear Inside, Left Right Dash Camera for Cars, 8 IR Lamps Night Vision, 5G WiFi & APP Control, G-Sensor, Parking Mode, with a Free 128GB SD Card |
|
| 4 | ROVE R2-4K DUAL Dash Cam Front and Rear, STARVIS 2 Sensor, FREE 128GB Card Included, 5G WiFi - up to 20MB/s Fastest Download Speed with App, 4K 2160P/FHD Dash Camera for Cars, 3\" IPS, 24H Parking Mode |
|
| 5 | 4K Dash Cam Front, Built-in 5G WiFi, 64GB Card Included, Dash Camera for Cars, Mini Dashcam with Super Night Vision, Loop Recording, G-Sensor, 24 Hours Parking Monitor, Support 256GB Max |
|
| 6 | REDTIGER 4K Dash Cam Front Rear, STARVIS 2 Sensor, Free Card Included, 5.8GHz WiFi-20MB/s Fast Download, Dash Camera for Cars with GPS, WDR Night Vision, 170°Wide Angle, 24H Parking Mode(F7NP) |
|
| 7 | Dash Cam 1296P Front Dashcam, V300 WiFi Dash Camera for Cars with App, Night Vision, Mini Hidden Single Car Camera, Loop Recording, 24H Parking Mode, Support 256GB Max, Black |
|
| 8 | Navycrest 4K Dash Cam Front and Rear with 64GB Card, Built-in 5G WiFi, Dash Camera for Cars 4K Front and 1080P Rear, Dashcams for Cars Loop Recording, Gravity Sensor, 24-Hours Parking Mode |
|
| 9 | REDTIGER 4K STARVIS 2 Dash Cam Front and Rear, 5GHz WiFi 20MB/s Download, 128GB Card Included, Voice Control, Dash Camera for Cars with 3.18\" Touch Screen, GPS, Loop Recording, Parking Mode(F7N Touch) |
|
| 10 | VIOFO A229 Plus Dash Cam Front and Rear, Dual STARVIS 2 Sensors, 2 Channel HDR, 1440P+1440P Voice Control Car Dash Camera, 5GHz Wi-Fi, Voice Control, Ultra-Precise GPS (SD Card Not Included) |
|
- Video Quality (Resolution): This is paramount. Look for a minimum of 1080p (Full HD) for both the front and rear cameras. For superior clarity, especially for reading license plates at a distance or in low light, a 4K front camera paired with a 1080p or 2K rear camera is the gold standard.
- Night Vision: A camera’s performance in low-light conditions is critical. Look for models featuring high-quality image sensors like Sony’s STARVIS, which are specifically designed to capture clear footage at night.
- G-Sensor (Gravity Sensor): This sensor detects sudden impacts, like a collision or heavy braking. When triggered, it automatically locks the current video file, preventing it from being overwritten by the loop recording feature.
- Loop Recording: All dash cams record in a continuous loop, usually in 1, 3, or 5-minute segments. When the memory card is full, it automatically overwrites the oldest, unlocked file. This ensures you never run out of space.
- Wide Viewing Angle: A wider angle captures more of the scene. Aim for a viewing angle between 140 and 170 degrees for the front camera. This is wide enough to cover multiple lanes of traffic without causing a distorted “fisheye” effect.
Advanced Features Worth the Investment
- Parking Mode: This feature requires the dash cam to be continuously powered, usually through a hardwire kit connected to your car’s fuse box. When the ignition is off, the camera enters a low-power state and will wake up to record if the G-sensor detects a bump or if a motion sensor detects movement.
- GPS: An integrated GPS module geotags your video files with location and speed data. This can be vital for proving exactly where and when an incident occurred and how fast you were traveling.
- Wi-Fi and App Connectivity: Modern dash cams often have built-in Wi-Fi, allowing you to connect your smartphone directly to the camera. Through a dedicated app, you can easily view, download, and share your footage without needing to remove the microSD card.
Step-by-Step Dash Cam Installation Guide
While professional installation is always an option, many users can install a front and back dash cam themselves in about an hour. The key is to be patient and methodical when hiding the wires.
Step 1: Mount the Front Camera
Position the front camera on the windshield. The best spot is typically behind the rearview mirror, where it won’t obstruct your view. Ensure the lens has a clear, sweeping view of the road ahead, avoiding any part of the windshield that is tinted or obscured by sensors.
Step 2: Route the Power Cable
There are two common ways to power your dash cam:
- Cigarette Lighter Adapter (Easiest): Plug the provided adapter into your car’s 12V socket. Tuck the power cable up into the headliner, across the passenger side, down the A-pillar, under the glove box, and to the power outlet.
- Hardwire Kit (Required for Parking Mode): This method connects the camera directly to your car’s fuse box. It provides a cleaner look and frees up your 12V socket. It’s more involved and may require a circuit tester to find the correct fuses (one that’s always on and one that’s only on with the ignition).
Step 3: Mount the Rear Camera
The rear camera is typically smaller. It can be mounted at the top center of the rear windshield. Before sticking it on, check the live view on the camera’s screen or your phone app to ensure it has a clear, level view.
Step 4: Route the Rear Camera Connection Cable
This is often the most time-consuming step. Start by plugging the long connection cable into the front camera. Run this cable along the same path as the power cable (across the headliner). Continue tucking it into the headliner along the side of the vehicle all the way to the back. You may need to gently pull back weather stripping on the door frames to hide the wire. Finally, route it across the rear headliner to the rear camera.
Step 5: Final Touches
Use a plastic trim tool to gently tuck any visible wires neatly into the car’s trim panels. Insert a high-endurance microSD card, format it in the camera’s settings, and power on the system. You’re now ready to hit the road with complete protection.
Frequently Asked Questions (FAQ)
What size microSD card do I need?
For a dual-channel 1080p system, a 64GB or 128GB card is recommended. This will store several hours of footage before loop recording begins. Always use a high-endurance card designed for constant rewriting.
Can a front and back dash cam drain my car battery?
If installed correctly with a proper hardwire kit, it will not drain your battery. These kits have a voltage cutoff feature that automatically shuts the camera off if your car’s battery voltage drops below a certain level, ensuring you always have enough power to start your car.
Is the footage from a dash cam admissible in court?
In most jurisdictions, yes. Dash cam footage is widely accepted as evidence in both court proceedings and for insurance claims, provided it has not been tampered with.
How do I manage all the video files?
Most systems with Wi-Fi allow you to manage files through an app. For significant events, it’s best to download the locked files to your phone or computer as soon as possible for safekeeping.
Do I need a screen on my dash cam?
It’s a matter of preference. Models without screens are more discreet, and you can use your smartphone as the screen via Wi-Fi. Models with screens make initial setup and on-the-spot playback slightly easier.
Your Final Checkpoint
Investing in a front and back dash cam is one of the most effective and proactive steps you can take to protect yourself, your vehicle, and your financial well-being on the road. The comprehensive coverage it provides is simply unmatched by any other single device. By focusing on key features like video quality, night vision, and a reliable parking mode, you can equip your vehicle with a silent witness that works tirelessly to keep you safe. Drive smart, drive protected, and share your experiences to help other drivers make the right choice.
Get our weekly buyer guide
Practical specs, not advice. Unsubscribe anytime.