If you’ve ever considered a dash cam, you’ve likely encountered two options: the simple plug-and-play models that use your car’s 12V cigarette lighter, and the more permanent solution of a Hard Wired Dash Cam. While plugging into a socket is easy, it leaves you with dangling cables and, more importantly, limits the camera’s true potential. Hardwiring, on the other hand, is the key to unlocking advanced features and achieving a seamless, professional-grade installation.
This guide will walk you through everything you need to know, from the core benefits to a detailed step-by-step installation process. As an automotive technology expert with over 15 years in the field, I’ve seen firsthand how a proper hard wire installation transforms a dash cam from a simple recording device into a comprehensive security system for your vehicle.
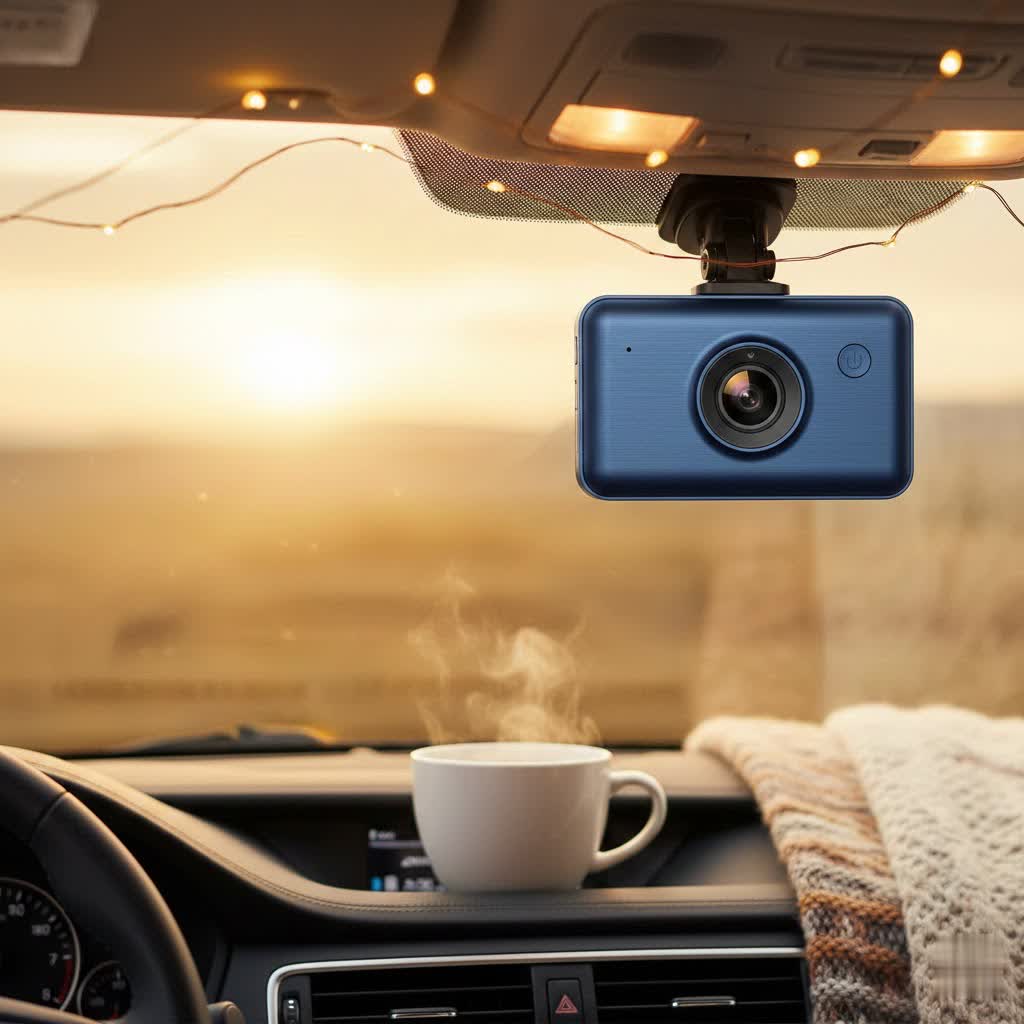
What Exactly is a Hard Wired Dash Cam Setup?
Simply put, hardwiring a dash cam means connecting it directly to your vehicle’s fuse box instead of the 12V power outlet. This method provides a constant and reliable power source, which is managed by a special hardwire kit. This kit typically has three essential wires: one for constant power (always on), one for switched power (on with the ignition), and a ground wire. By tapping directly into your car’s electrical system, the dash cam can operate intelligently, knowing when the car is running and when it is parked.
Why You Should Hard Wire Your Dash Cam
The benefits of moving beyond the 12V socket are significant. A hard wired dash cam installation offers a cleaner look and superior functionality.
Unlock True 24/7 Parking Mode
|
Our Picks for the Best Dash Cam in 2026
As an Amazon Associate I earn from qualifying purchases.
|
||
| Num | Product | Action |
|---|---|---|
| 1 | ROVE R2-4K DUAL Dash Cam Front and Rear, STARVIS 2 Sensor, FREE 128GB Card Included, 5G WiFi - up to 20MB/s Fastest Download Speed with App, 4K 2160P/FHD Dash Camera for Cars, 3\" IPS, 24H Parking Mode |

|
| 2 | Dash Cam Front and Rear, 1080P Dash Camera for Cars, 3 Channel Car Camera Front Rear and Inside with 32GB Card, Loop Recording, Night Vision, HDR, 24Hr Parking, G-Sensor |
|
| 3 | Dash Cam 1296P Front Dashcam, V300 WiFi Dash Camera for Cars with App, Night Vision, Mini Hidden Single Car Camera, Loop Recording, 24H Parking Mode, Support 256GB Max, Black |
|
| 4 | IIWEY N5 4 Channel Dash Cam 360° View, 1080P Front and Rear Inside, Left Right Dash Camera for Cars, 8 IR Lamps Night Vision, 5G WiFi & APP Control, G-Sensor, Parking Mode, with a Free 128GB SD Card |
|
| 5 | REDTIGER 4K STARVIS 2 Dash Cam Front and Rear, 5GHz WiFi 20MB/s Download, 128GB Card Included, Voice Control, Dash Camera for Cars with 3.18\" Touch Screen, GPS, Loop Recording, Parking Mode(F7N Touch) |
|
| 6 | 4K Dash Cam Front, Built-in 5G WiFi, 64GB Card Included, Dash Camera for Cars, Mini Dashcam with Super Night Vision, Loop Recording, G-Sensor, 24 Hours Parking Monitor, Support 256GB Max |
|
| 7 | Dash Cam Front and Rear, 2.5K+1080P Dual Dash Camera for Cars, 2’’ Display Mini Car Camera, G-Sensor Dashcam, Night Vision, 24H Parking Mode, Loop Recording, 170°Wide Angle, 32GB Card Included |
|
| 8 | Navycrest 4K Dash Cam Front and Rear with 64GB Card, Built-in 5G WiFi, Dash Camera for Cars 4K Front and 1080P Rear, Dashcams for Cars Loop Recording, Gravity Sensor, 24-Hours Parking Mode |
|
| 9 | REDTIGER 4K Dash Cam Front Rear, STARVIS 2 Sensor, Free Card Included, 5.8GHz WiFi-20MB/s Fast Download, Dash Camera for Cars with GPS, WDR Night Vision, 170°Wide Angle, 24H Parking Mode(F7NP) |
|
| 10 | VIOFO A229 Plus Dash Cam Front and Rear, Dual STARVIS 2 Sensors, 2 Channel HDR, 1440P+1440P Voice Control Car Dash Camera, 5GHz Wi-Fi, Voice Control, Ultra-Precise GPS (SD Card Not Included) |
|
This is the number one reason to hardwire. Standard dash cams turn off with your car. A hardwired one can enter a low-power “parking mode” when you turn the ignition off. Using features like G-sensor impact detection or time-lapse recording, it monitors your vehicle for bumps, and vandalism, giving you peace of mind that your car is protected even when you’re not around.
A Cleaner, Professional Installation
Let’s be honest: visible wires are messy. They can obstruct your view, get tangled, and detract from your car’s interior. Hardwiring allows you to route the power cable discreetly behind the headliner and interior trim panels, making the dash cam look like it was installed at the factory.
Free Up Your 12V Socket
That valuable 12V outlet is now free for its intended purposes, like charging your phone or powering a GPS device, without needing a bulky, multi-socket adapter.
Enhanced Reliability
A direct connection to the fuse box is more stable and reliable than a 12V plug, which can sometimes wiggle loose on bumpy roads, interrupting power and your recording.
How to Hard Wire a Dash Cam: A Step-by-Step Guide
While it may sound daunting, hardwiring a dash cam is a manageable DIY project for many. With the right tools and a little patience, you can achieve a professional result.
Disclaimer: This is a general guide. Always consult your vehicle’s owner’s manual to correctly identify your fuse box and fuse types. If you are not comfortable working with your vehicle’s electrical system, please consult a professional installer.
Step 1: Gather Your Tools
Before you begin, make sure you have everything you need:
- Your dash cam
- A compatible hardwire kit (ensure it has a voltage cut-off feature to protect your car battery)
- A set of fuse taps (Add-a-Circuit) that match your vehicle’s fuses (usually ATO, Mini, Low-Profile Mini, or Micro2)
- A circuit tester or multimeter
- A fuse puller (often included in your car’s fuse box)
- An interior trim removal tool (recommended to avoid scratches)
- A wrench or socket set
Step 2: Locate Your Vehicle’s Fuse Box
Most fuse boxes are located inside the cabin, typically under the dashboard on the driver’s side, in the glove compartment, or at the side of the dash. Some vehicles have a secondary fuse box in the engine bay. Your owner’s manual is your best friend here.
Step 3: Find the Right Fuses
This is the most critical step. You need to identify two types of fuses:
- Constant Power Fuse: This fuse has power even when the car is turned off. It powers things like your interior dome lights, hazard lights, or power seats.
- Switched/ACC Fuse: This fuse only has power when the key is in the “Accessory” or “On” position. It powers things like the radio, 12V socket, or windshield wipers.
Use your circuit tester or multimeter to test the fuse slots. For a constant fuse, the tester should light up even with the car off. For a switched fuse, it should only light up when you turn the ignition on.
Step 4: Connect the Fuse Taps
Once you’ve identified your fuses, remove them with the fuse puller.
- Take the fuse you just removed and insert it into the empty slot on your new fuse tap.
- Insert the fuse that came with the tap into the other slot.
- Connect the red wire (ACC/Switched) from your hardwire kit to the switched fuse tap.
- Connect the yellow wire (Constant) from your hardwire kit to the constant power fuse tap.
- Plug the fuse taps back into the corresponding empty slots in your fuse box.
Step 5: Connect the Ground Wire
The black wire in your hardwire kit is the ground. It needs to be connected to a bare metal part of your car’s chassis. Look for an unpainted bolt or screw near the fuse box that is connected directly to the metal frame. Loosen it, slide the C-shaped connector of the ground wire underneath, and tighten it securely. A poor ground is a common cause of installation failure.
As Johnathan Miles, a certified automotive technician with over 15 years of experience, always says: “Don’t guess with your ground. A solid, clean metal-to-metal connection is non-negotiable for a stable and safe installation.”
Step 6: Route the Dash Cam Cable
Mount your dash cam in its desired location, usually behind the rearview mirror. Starting from the camera, carefully tuck the power cable into the headliner using a trim tool. Route it down the A-pillar (the pillar between the windshield and the driver’s side window), across the side of the dashboard, and down to the fuse box area. Be careful to avoid interfering with any airbags.
Step 7: Connect and Test
Plug the cable into your dash cam and connect it to the hardwire kit. Tidy up any excess wiring with zip ties. Now, test the system.
- Turn the key to the “Accessory” position. The dash cam should power on.
- Turn the key off. The dash cam should either power off or enter parking mode, depending on its settings.
If everything works as expected, you can neatly replace all the trim panels and the fuse box cover.
Frequently Asked Questions (FAQ)
Will a hard wired dash cam drain my car battery?
No, provided you use a modern hardwire kit. These kits have a built-in voltage cut-off feature that automatically shuts the dash cam off if your car’s battery voltage drops to a preset level, ensuring you always have enough power to start your engine.
Is it difficult to hardwire a dash cam myself?
For those with basic DIY skills, it is a straightforward process. The key is to be patient and methodical, especially when identifying the correct fuses. If you are unsure at any point, seeking professional help is the safest option.
Can I hardwire any dash cam?
Most modern dash cams are designed to be hardwired, but you must use a hardwire kit that is compatible with your specific model and your vehicle’s electrical system.
How much does professional installation cost?
The cost for a professional to install a hard wired dash cam can vary depending on your vehicle and location, but it typically ranges from $50 to $150.
Does hardwiring a dash cam void my car’s warranty?
Using a fuse tap is a non-invasive method that does not alter the car’s original wiring, so it generally does not void your vehicle’s warranty. However, it’s always wise to check with your dealership if you have concerns.
The Final Verdict
Investing a little time to install a hard wired dash cam pays huge dividends in functionality, safety, and aesthetics. You gain a powerful 24/7 security system, a clutter-free dashboard, and the confidence that every drive—and every moment your car is parked—is being monitored. It’s an upgrade that moves your dash cam from a simple accessory to an integrated part of your vehicle’s safety system.